Setting Up A Recording Session In REAPER

Naava
Last Update hace 2 años
- Open REAPER
- If you are using an evaluation license, click 'still evaluating'
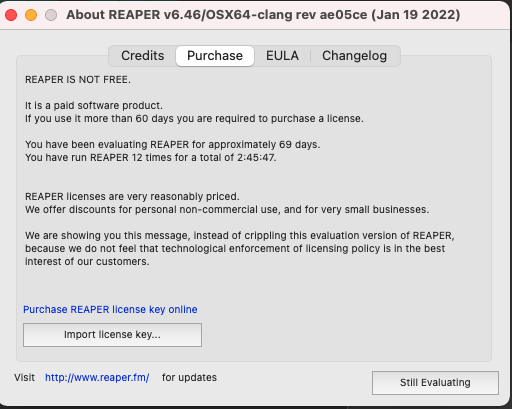
Caption: REAPER opening pop up
- Make sure your session specs match the requirements
- Go to the top 'REAPER' menu -> Preferences -> Audio -> Device
- The sample rate should be set to 44100
- Ensure the 'Audio Device' dropdown menu is set to your microphone or interface
- Don't forget to click 'Apply'
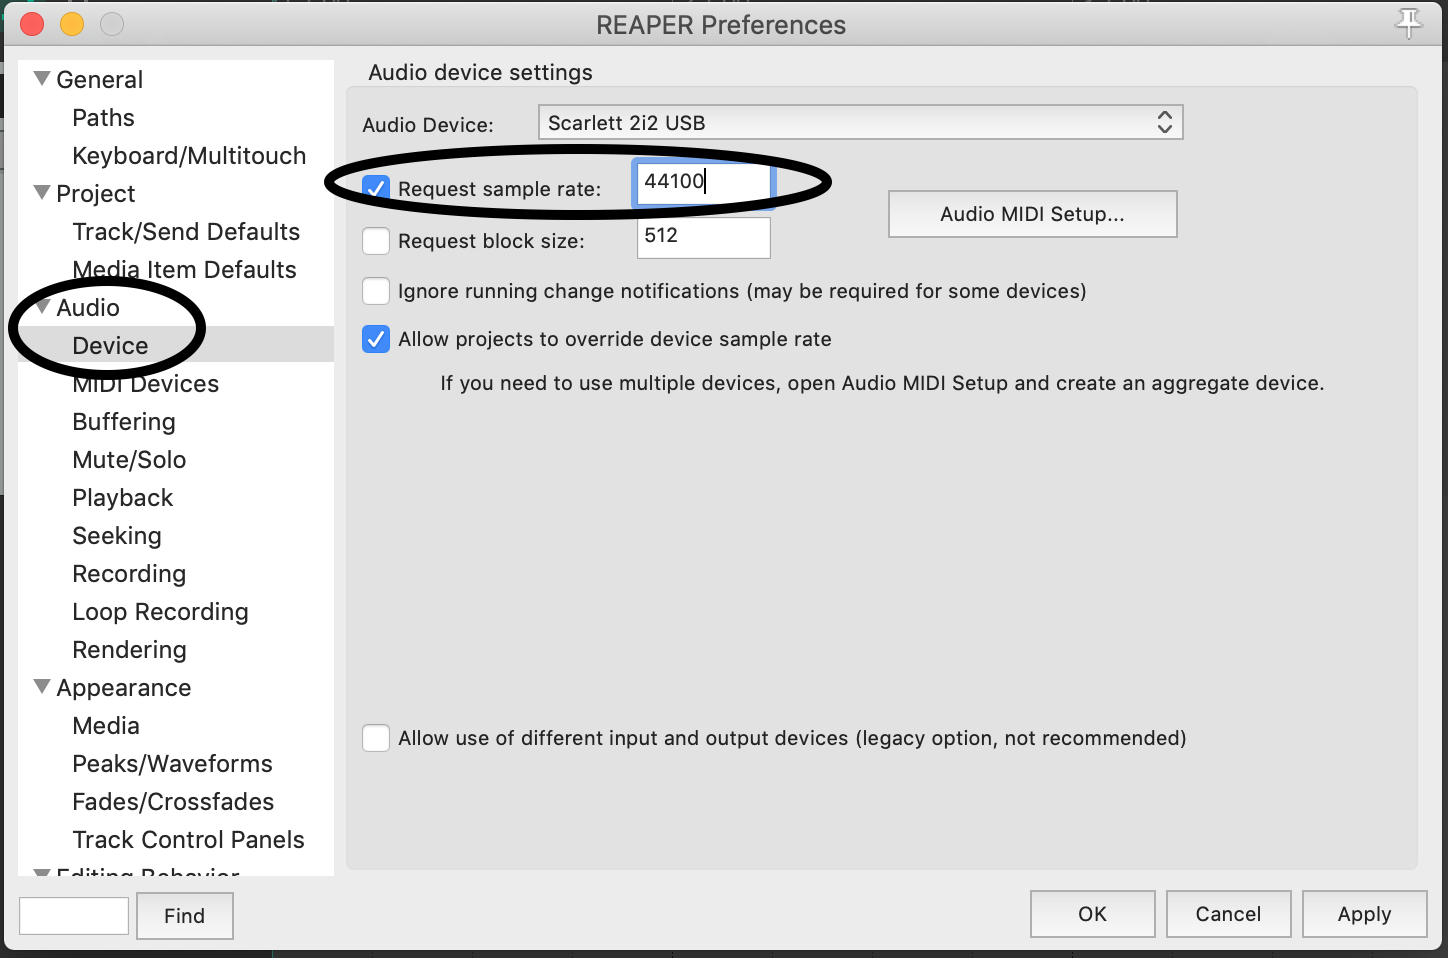
Caption: REAPER Preferences Menu
- To ensure your session is set correctly, go to the top 'File' menu -> Project Settings
- Ensure the sample rate is correct
- If you'd like, you can 'Save as default project settings'
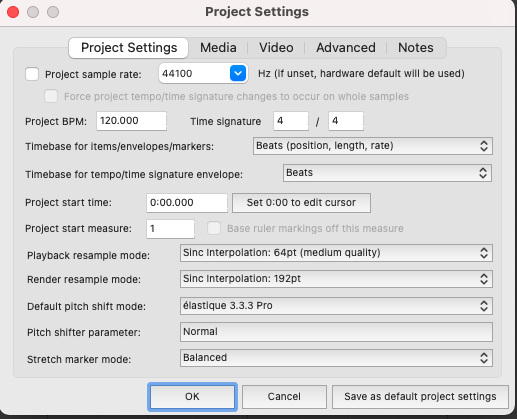
Caption: REAPER Project Settings Menu
- To confirm these settings, you can also look at the top of your computer screen while in REAPER.

Caption: The top bar of the computer screen
- Set Pre-Roll.
- Go to the top 'Options' menu -> click 'Metronome/Pre-Roll Settings
- Select the amount of pre-roll you want and close the menu
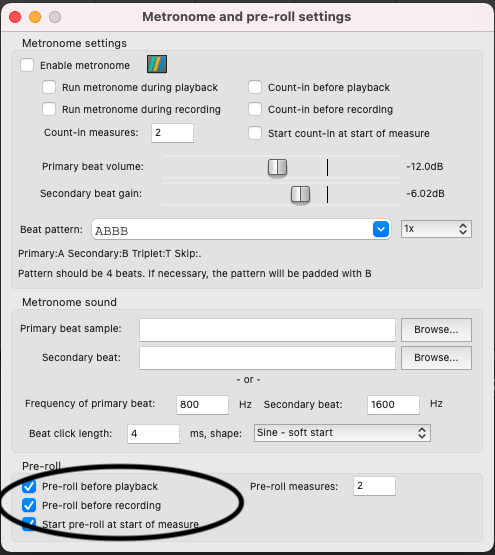
Caption: Metronome and Pre-Roll Settings Menu in REAPER
- Record 'arm' your track
- Ensure to click both the record button to the left of the track and the record enable button on the bottom of your screen.
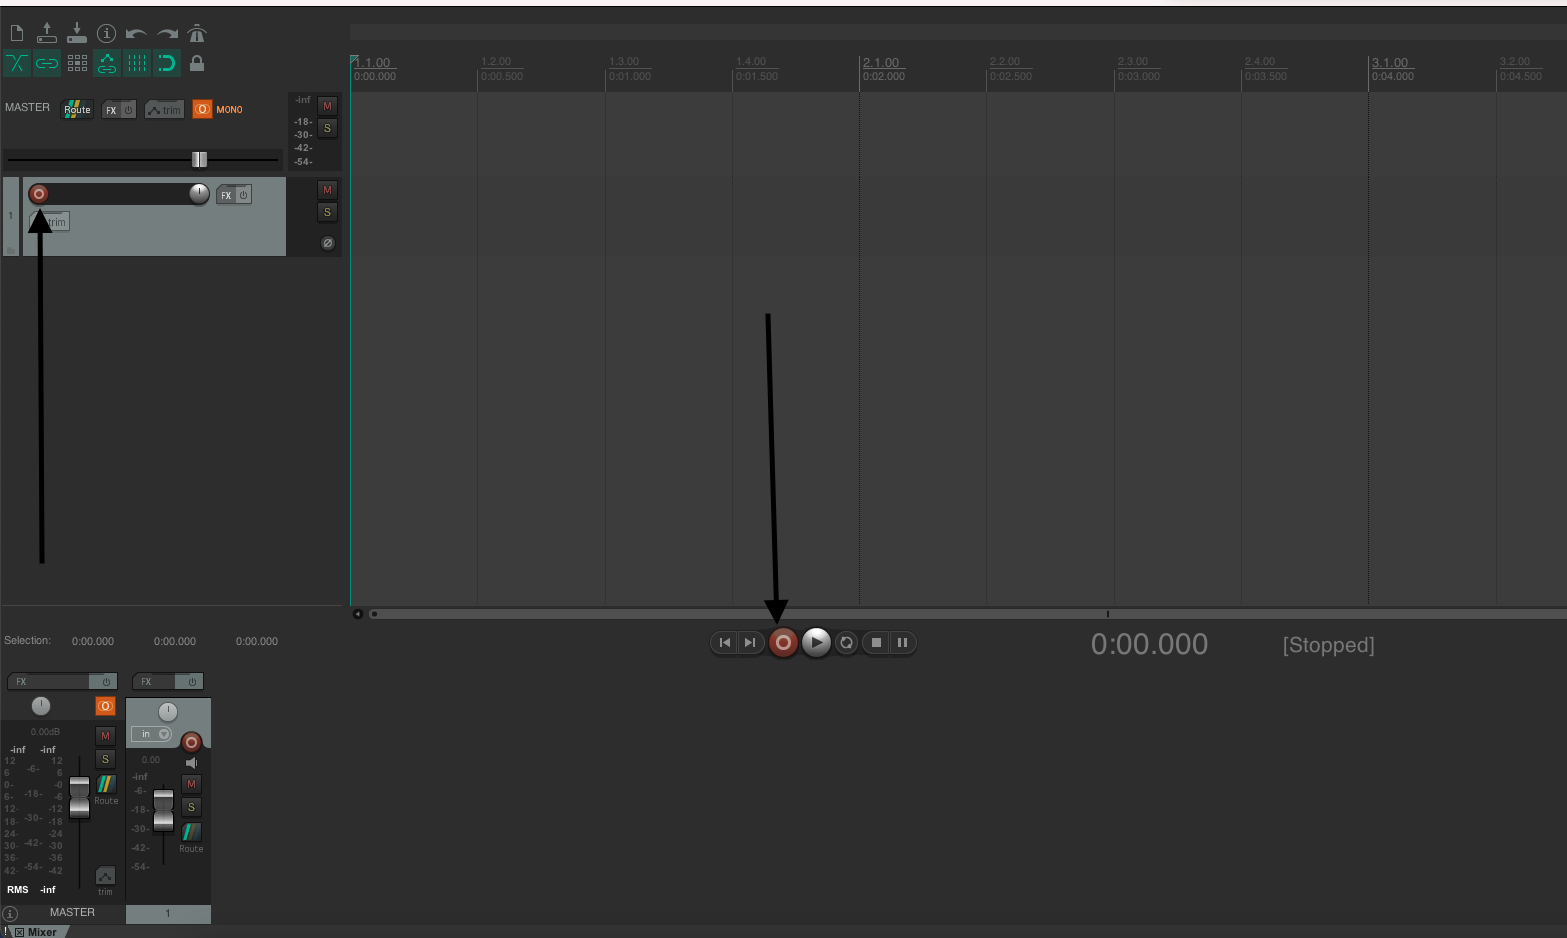
Caption: REAPER window with two arrows pointing to the record arm and record enable buttons
- Start recording.
- Clean up punch points.
- Fix any edit spots with cut-off words or breaths.
- Use crossfades to make the edit points clean.
- Export your audio chapter by chapter
- Drop markers in between chapters
- To drop a marker, click the ‘M’ key on your keyboard or go to the top 'insert' menu -> Marker
- Select one chapter (using the markers) at a time and convert the chapter to a region (from time selection)
- Insert -> Region (From Time Selection)
- Render the regions out (with NO fx)
- File -> Render -> select ‘Project Region’ in the 'Bounds' dropdown menu
- Make sure to uncheck the option for 'Tail'
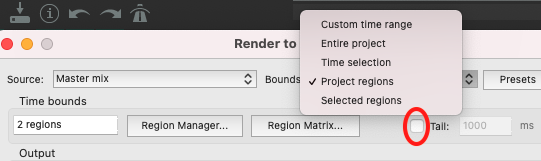
Caption: Render Menu in REAPER
- Ensure your export settings are correct. Use the 'format' dropdown menu to choose if you want to save a wav or mp3 file.
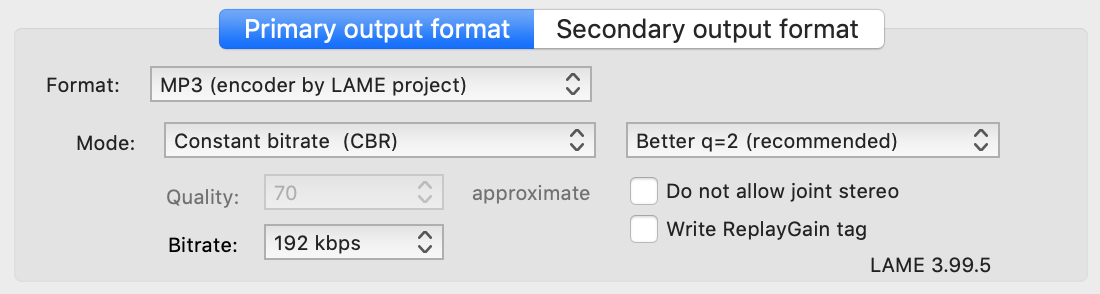
Caption: Render Menu in REAPER Showing Export Settings for an .mp3 File
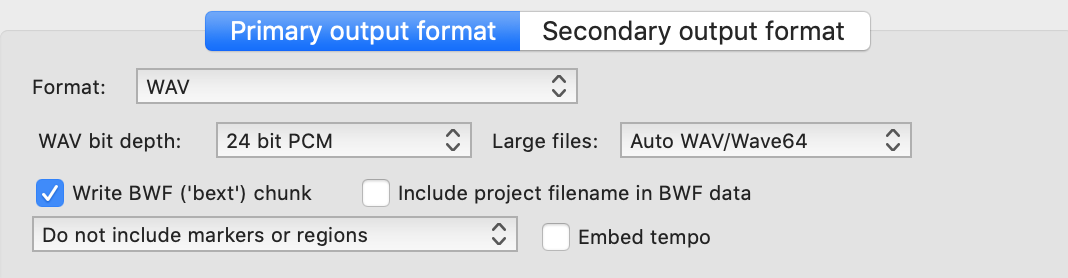
Caption: Render Menu in REAPER Showing Export Settings for a .wav File